


At Pure Nails, we think that Lockdown 2.0 is the PERFECT time to be going back to basics & really perfecting your daily skills as a Nail Tech. In this blog post we will be telling you how to create chip-free, durable, glossy gel polish nails. All products used in this step-by-step are available to buy from www.purenails.co

Picture: @nailart.byella
Step 1: Prep Work
Cuticle Work: This step is vital in the application of flawless gel polish, the most efficient way to push back the cuticle area is by using a manicure spoon. Gently nudge back the cuticle area by using the spoon side of the tool, hardly apply any pressure at all- you don’t want to use force as this may hurt your client. If a cuticle is sticking to the nail and not budging, come back to it a second time round and apply gentle force. Once the cuticles have been pushed back, use the pointy side of the manicure spoon to gently go around the nail, making sure all dead cells have been removed. Your prep work should take between 10 to 15 minutes long. Once the cuticles have been pushed back, we then go in with our Cuticle Nippers. The most important part about this step is to remember that you should only remove dead cuticle/skin. Anything white and sticking up can be removed- if there is nothing to cut, don’t cut it!
Shaping Nails: Now time for the dehydrator, the reason we used a dehydrator like Prep & Scrub, is because like want the gel polish to adhere to the nails. The drier the nails, the longer the gel will last. It will also remove any dust/dead cells from the cuticle work. Once this step has been completed, we move onto shaping the nail using our Halo 240/240 Elite file- this step is super straight forward as you need to shape the nail to the client’s preference. E.g. Square, round, almond etc. Give the nails a buffer over with your nail file- the 240/240 Elite File is perfect for getting in all the area’s a normal file can’t; use the round edge to get close to the cuticle area and the square end to get down the sides on the nails. Now give your prep work a final check over before moving onto the gel polish.
Step 2: Applying the Gel Polish:
Apply Base Coat: Now it’s time to apply your base coat, at this point you can find out a bit about your client and her lifestyle; different base coats work better for different clients. E.g., if you client has brittle nails, we’d suggest trying out our Halo Rubber Base Coat. When applying a base coat, start in the middle of the nail and then push it up to the top of the nail, the reason we do this is to not over flood the cuticle area. Now take it down each side wall of the nail and then cap the end of the nail. To finish off the base coat, make sure no product is touching the skin before we cure the polish; if there is product touching the skin, simply use a brush to remove it. Now cure for 30 seconds (using our Halo system).
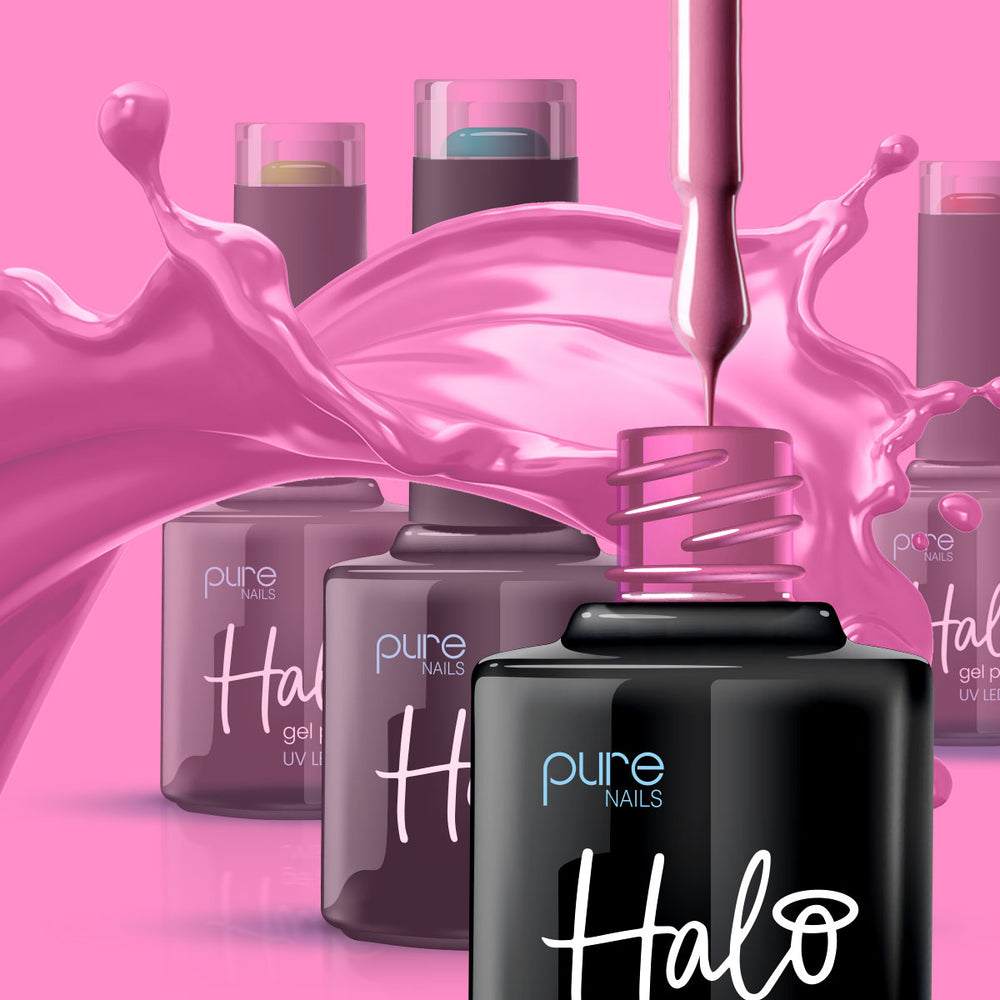
Apply the Colour: Once the base coat has been applied, we then go in with a colour. At Halo, we have over 200 Gel Polish colours to choose from, so this can be the hardest step! Again, we will start by applying a thin coat of Halo Gel Polish colour in the middle of the nail and pushing it up to, try and get as close to the cuticle as you can and take it down each side walls, capping the end of the nail. Now cure for 30 seconds and repeat again for the second coat.
Apply the Top Coat: Now the colour has been applied, we want to finish off the manicure or pedicure with a Top Coat. At Pure Nails we offer a Non-Wipe Top Coat, this our most popular Top Coat as there is no need to wipe down a tacky layer after curing. We will go in with the Top Coat using the same techniques as before and then cure for 30 seconds.
Step 3: Aftercare
Cuticle Oil: Once the Top Coat has set, put some Halo Cuticle Oil onto your mat. Use a brush to swipe it around each cuticle, then go back in and gently massage the oil in further with your fingers. Cuticle Oil is SUCH an important step and is sometimes overlooked by Nail Techs, however it helps the Gel Polish last longer and keeps cuticles looking beautiful. Now take a clean wipe, with no product and swipe it over the nail, this will gently buff over the manicure/pedicure and take any oil residue off the nail itself.
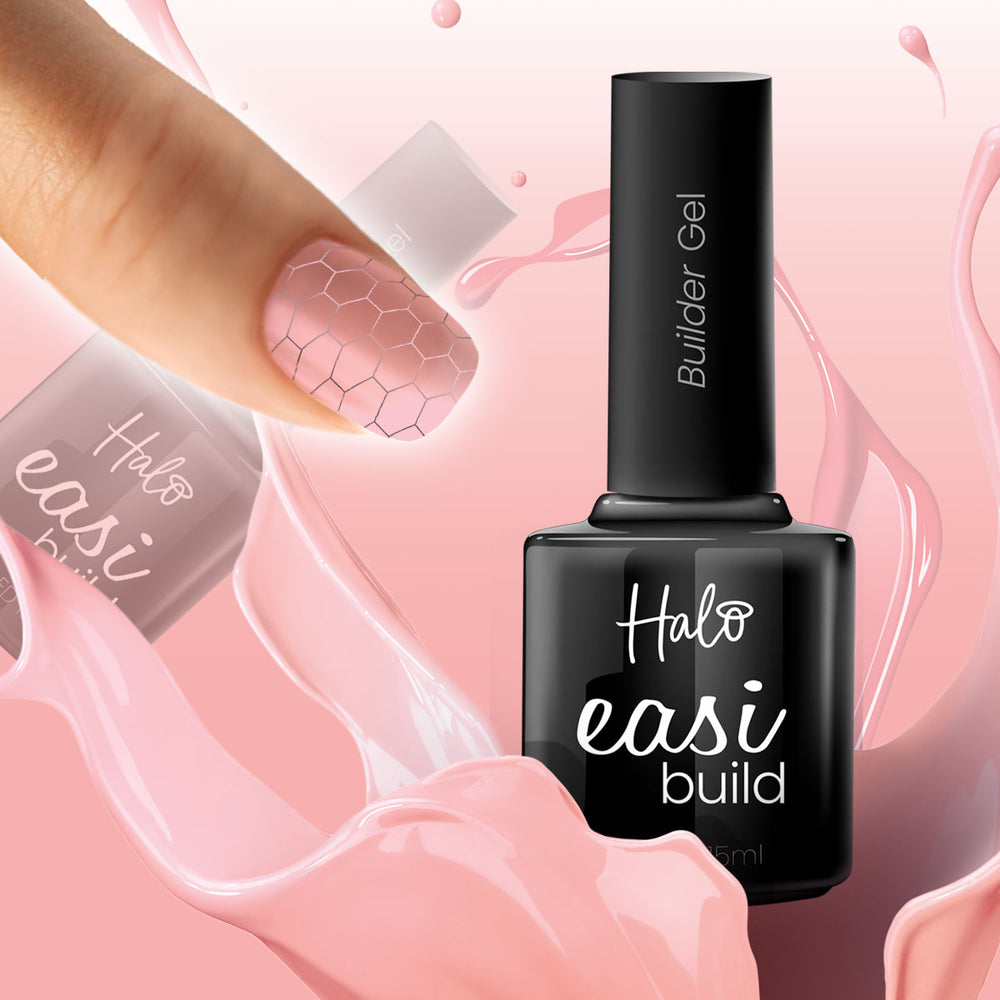
Over lockdown 2.0 we will be proving FREE live workshops every Wednesday at 7PM on our Instagram (@purenailsuk). The next workshop will be Wednesday the 18th, where will be teaching you ‘How to Apply Long-Lasting, Easibuild Overlays on Natural Nails’. We can’t wait to see you there!